What is Engineering Drawing?
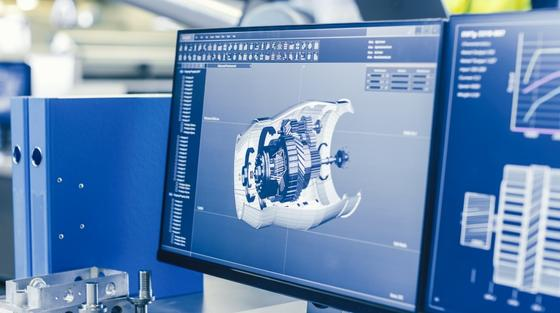
Engineering drawings are standardized terms, symbols, and graphic designs that express all the information required to produce a product or a component. The “engineering technology language” is used everywhere in the beginning.
What is the Purpose of Engineering Drawing?
Some specialized technical needs are difficult and complex to articulate in words. In this situation, a good-sized, properly scaled engineering drawing can make it simpler for the technician to comprehend and execute the design objective.
Tips to Make Engineering Drawing Simple
- Add Dimensions of Only Critical and Measurable Features
In CNC machining, the 3D model has every dimension required for production. Therefore, only key threading information and critical inspection measurements should be included in your mechanical drawing.
- Communicate hole-tapping needs with thread size and depth
It can be challenging to determine the precise thread depth. As a result, you should never dive below the depth call-out.
- Communicate assembly intent of critical features
You should add an assembly instruction in your engineering drawing if the production calls for machining the complete assembly.
- Part Numbers are Very Important to Mention
The source and part number should be listed on the drawing if installing hardware is required. The phrase “press-fit M4 dowel” alone does not provide any material details or machine shop dowel length.
- Optional Secondary Operation Call-Outs are Not Needed
It is advisable to seek separate pricing and lead time for non-critical secondary operations like polishing and anodizing. You will be able to estimate the additional expense and time with this method.
- Avoid Over-Dimension or Over-Tolerance on Your Designs
Only a small portion of a component’s attributes are often essential to its operation. You would therefore want the machinist to pay extra attention to these qualities. Critical features could be lost in the noise due to overdimension. Therefore, it’s crucial to only give tolerances to aspects that are necessary for the purpose.
- Tolerance Must Fall Within Standard Accuracy Levels
It’s crucial that you provide the proper amount of tolerance for your material. Don’t set tolerance standards that are less accurate than what can be achieved with hand metrology tools of common use. As a result, you ought to learn more about the starting dimensions employed at your selected machine shop, and you’ll be able to make better decisions as a result.
Summary
A large portion of a machinist’s work still involves engineering drafting. Up to 20% of the total design work time is spent on these drawings. This aids in accurately capturing all the geometrical characteristics of items and their parts. In this manner, you may be certain that manufacturers can create parts that satisfy particular requirements.
At Karkhana.io, we connect you to the right partner right away and save you time. This speeds up your manufacturing process and cuts down your overall manufacturing cost. This process aims to help you focus on manufacturing better products.
If you wish to get the expertise for your manufacturing needs. Start your journey by registering on our digital platform.


